
Gladstone bag No 1
- Anna Young

- Aug 4, 2015
- 4 min read
I like Gladstone type bags and cases. Having watched some videos on youtube I was keen to have a go and started watching auction sites looking for prospects for restoration.


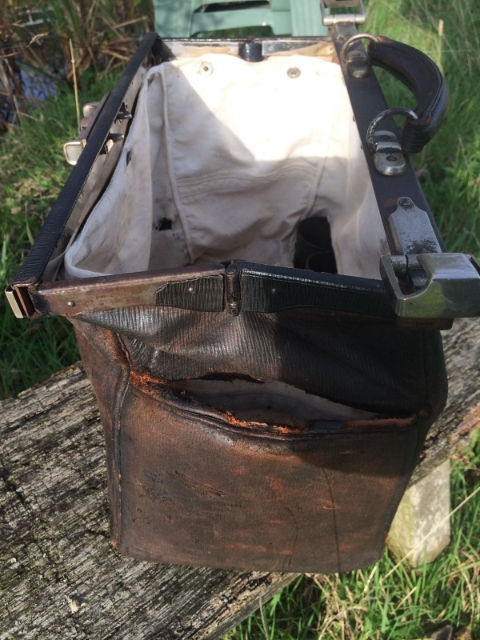
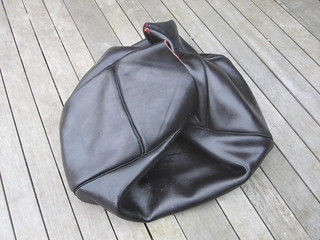
I am no expert and to my eyes this bag looked great. I though from the description and pictures that it had started life as a brown bag which had then been dyed black later in its life. My plan was to take it apart and learn how it was made then put it back together with fresh stitching and a smart lining.
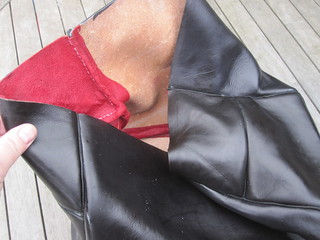
When the bag arrived it was clear that my assumptions were a little wide of the mark
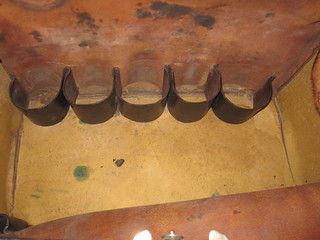
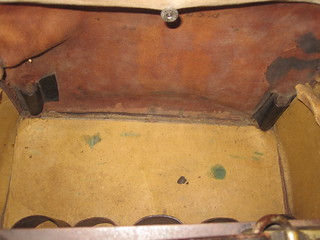
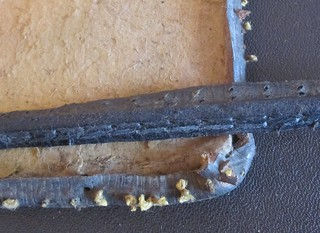
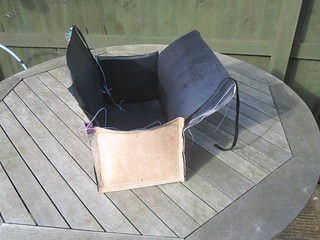
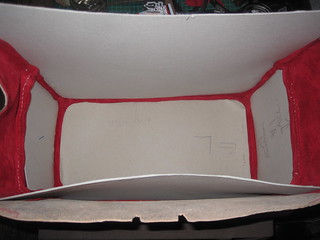
These pictures show the inside of the bag with the compartments sewn into the sides of the bag. They were quite difficult to see clearly whilst the bag was intact. Once the bag had been dis assembled it was much easier to see the compartments.

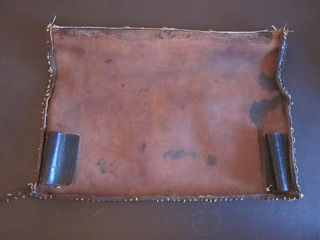
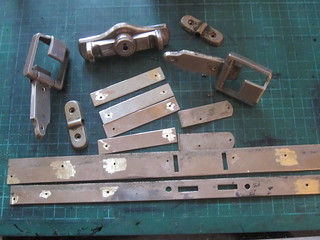
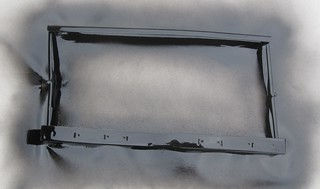
The frame stripped out from the bag

My first plan was to replace only the leather that was worn out or was rotten unfortunately it turned out that most of the leather fitted into one of these category’s. Even the leather that was used as piping was falling apart as I removed it.
Once the decision was made to replace all of the leather I laid everything out and started making templates

Once I had a set of templates I went to Le Prevo my leather suppliers and asked their advice on the best type of leather to use for this bag.
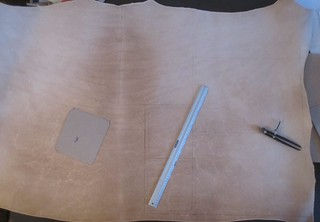
I should have used a sharpie to mark out the templates but if you look closely you can see the pencil marks the ruler is 500 mm it will give you an idea of the size of the hide.
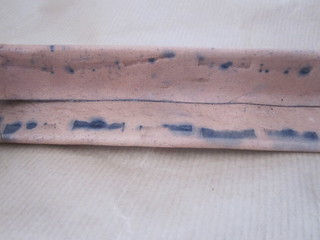
A few cuts later and we have a bag well almost. There are two pieces of kip leather which is thinner and more flexible for the upper end pieces which need to fold to allow the bag to close. Here you can see the original on the left and the replacement panel on the right.

The next stage was to apply the dye when I was taking the bag apart I discovered the original colour was black the leather inside the seams was black. With this in mind I cleared my outside work space and started dying everything black.
After the dye had dried I began the assembly I cut strips of black suede and folded them to replace the folded leather that was previously in between the joints. I used mini clips to hold everything together and then began sewing
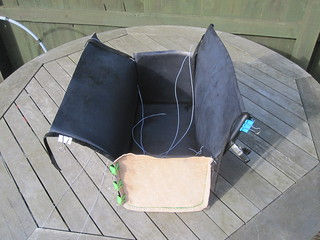
I started with the bottom plate and worked around attaching the ends and sides as I went. As this was my first experience with working inside out and also with piping although the piping was empty it was still a challenge.
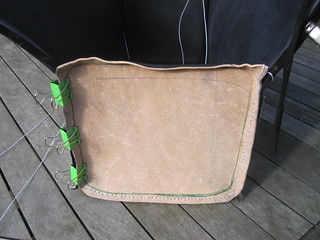
The close up of the end piece shows the lower end piece in place with the base and first side sewn in place.
It took weeks to work my way around the bag sewing all of the joints together in the picture above you can see the lengths of folded suede waiting to be sewn into the joint.
My plan for the inside was to use red suede. I knew it would be difficult to line the upper end panels once they were in place so I decided to line those pieces before fitting. I also glued some suede over the other joints at the same time
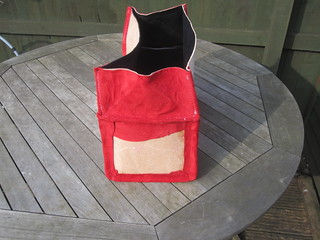
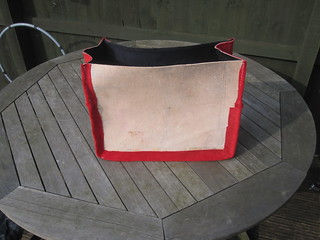
The case shell is now complete I made another set of templates for the card that will line the inside of the bag after being wrapped in suede of course.
After soaking in cold water for about an hour I was able to turn the bag the right way out.

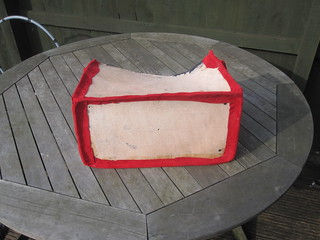
When the leather is this wet it does not have any strength, As the leather begins to dry out it will regain that rigidity. It is important to ensure that the bag maintains the required shape as it dries.
After being left to dry for a couple of days I test fitted the interior card pieces
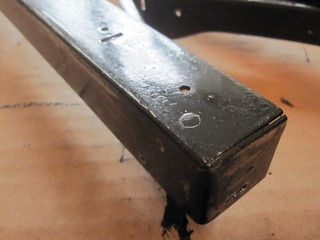
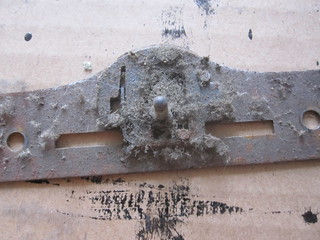
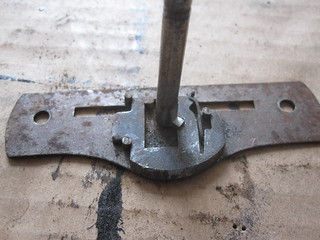
During the breaks waiting for things to dry I stripped down the metal frame with its assorted locks and catches
I think the metal frame had been painted although it may have been painted and then wrapped in leather but I decided to paint it anyway. This is my first attempt at painting with metal paint not good at all.
After a re think I decided to go to rattle can spray paint with much better results.

There was no key and the lock mechanism did not work at all so I stripped it down and cleaned and repaired the mechanism.
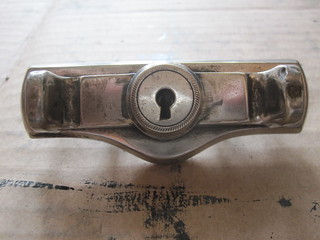
I also made a replacement key
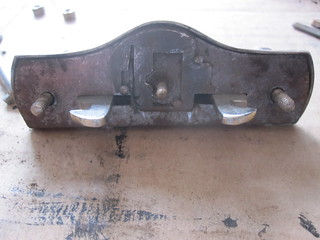
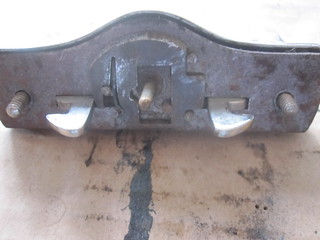
Back together but inside out so you can see the mechanism picture one unlocked picture two locked
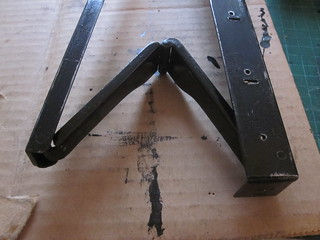
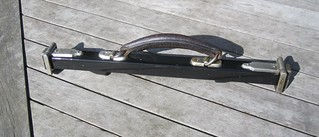
Here is the frame and handle assembly complete with lock and catches

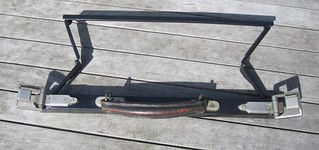
I decided to keep the old handle as it was in fair condition although as it has not yet been attached to the bag then it may be changed
I have been busy lately and as this bag was not a commission purely something I wanted to do these are the most up to date pictures.


I do intend to finish this bag in the coming weeks and decide whether to keep it or let it go.
When I started this project I decided to paint the metal frame as I did not have the skills required to wrap it in leather. I was happy with the painted finish until I started to assemble the bag.
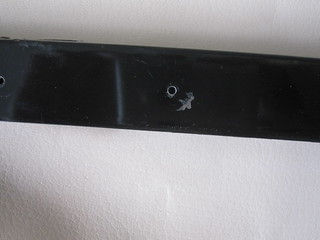
One slip with the screw driver and catastrophe a nice deep scratch.
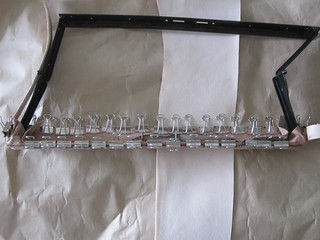
I thought about repainting the frame however I decided to have a go wrapping it in leather. With the help of some scrap leather and a box of clips I started forming the leather around the frame. The clips are not coated or painted so they will turn the leather black it is a chemical reaction between the metal and the leather wire wool is often dissolved in white vinegar to make a solution called vinegaroon to dye leather black.


The front and rear sections are now wrapped and this morning I began wrapping the side pieces
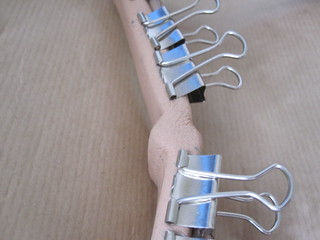
It is important to remember not to glue the joint section. I have just finished forming the final side piece.

Comments